
 en
 English

How to Test a Capacitor with a Multimeter: The Complete Step-by-Step Guide
Content
- 1 What a Multimeter Can Tell You About a Capacitor
- 2 Discharge the Capacitor Before You Do Anything Else
- 3 Method 1: Capacitance Mode - The Fastest and Most Reliable Test
- 4 Method 2: Resistance Mode - When Your Meter Has No Capacitance Range
- 5 Method 3: Continuity Mode - A 10-Second Screening Test
- 6 Method 4: The Time-Constant Method - For Multimeters Without Capacitance Mode
- 7 Interpreting the Results: What the Numbers Actually Mean
- 8 Testing Real Motor Run Capacitors: From Washing Machines to Air Conditioners
- 9 Visual Inspection Comes First - And Often Ends the Argument
- 10 When the Capacitor Tests Fine but the Motor Still Does Not Start
- 11 Frequently Asked Questions
- 11.1 Can I test a capacitor while it is still in the circuit?
- 11.2 How do I discharge a capacitor before testing?
- 11.3 What is the best multimeter mode to test a capacitor?
- 11.4 Why does my multimeter show OL in capacitance mode?
- 11.5 What voltage should a motor capacitor read when I measure it?
- 11.6 How often should I test the capacitors on HVAC equipment?
Picture a washing machine stopping mid-cycle, a condenser fan refusing to spin, or a water pump humming without delivering a drop. The fastest way to narrow down the fault starts with the same tool: a digital multimeter pointed at the capacitor. In single-phase motor circuits, capacitors fail far more often than the motor itself, and a two-minute measurement usually settles the question.
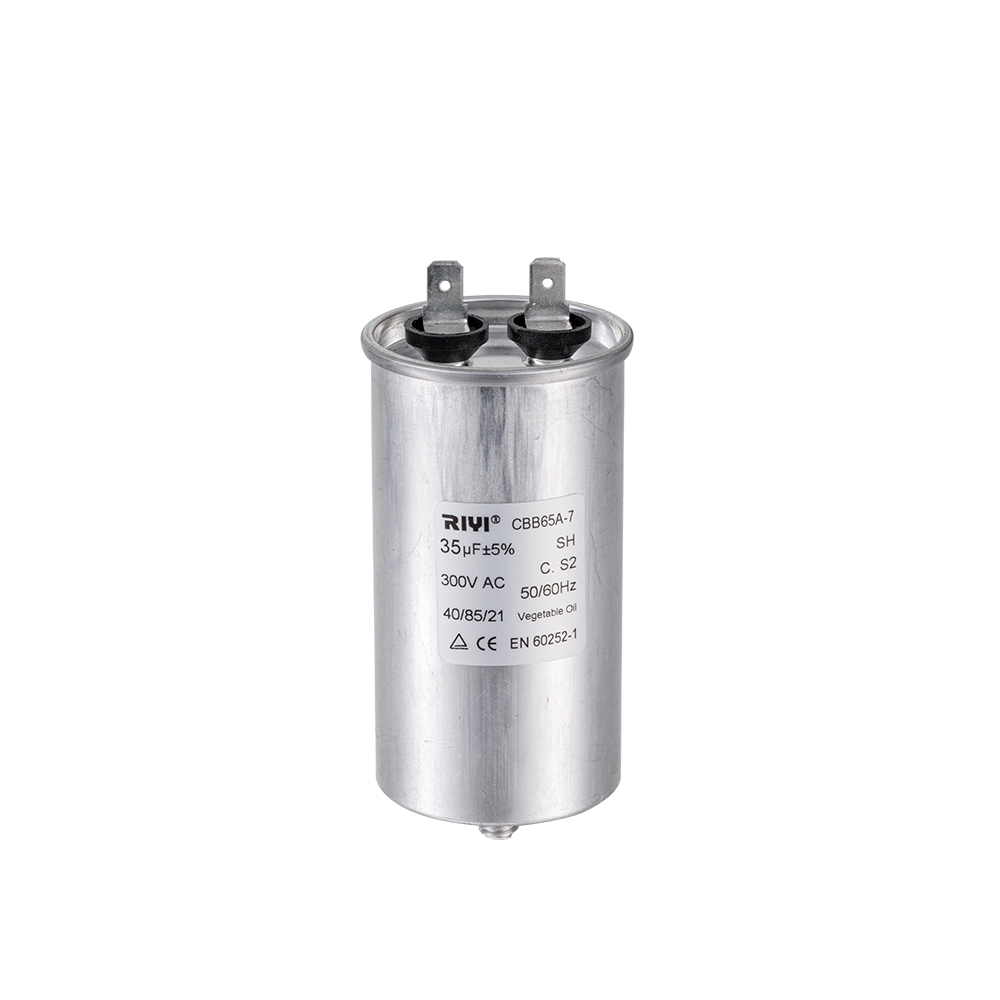
The direct answer to "how to test a capacitor with a multimeter" is this: discharge the capacitor, set the meter to capacitance mode, connect the leads, and compare the measured value with the printed rating. A reading within 10 percent of the label means the capacitor is probably fine. A reading that has dropped by more than 20 percent, or one that shows no charging movement in resistance mode, means the part should be replaced. The sections below walk through every reliable method, what the numbers mean, and the mistakes that waste a technician's time. Ac Capacitor
What a Multimeter Can Tell You About a Capacitor
A digital multimeter does not measure the internal health of a capacitor directly. It measures electrical behavior, and from that behavior you can judge whether the capacitor still functions. Four measurement modes matter for capacitor testing: capacitance mode, resistance mode, continuity mode, and DC voltage mode when combined with a resistor.
| Mode | What It Measures | Best For |
|---|---|---|
| Capacitance mode | True capacitance value in microfarads | Checking value against the printed label |
| Resistance mode | Charging behavior through the meter's internal current | Detecting shorts, opens, and leakage |
| Continuity mode | Near-zero resistance path | Quickly finding a shorted capacitor |
| DC voltage mode | Voltage build-up over time through a resistor | Measuring capacitance when the meter has no capacitance range |
The capacitance mode gives the most direct answer. The other modes work as backups when your meter lacks that range, which is still the case on many budget models. Knowing all four methods means you can test any capacitor with almost any multimeter.
Discharge the Capacitor Before You Do Anything Else
A capacitor can hold a dangerous charge for a long time after power is removed. Testing must start with a safe discharge. This is not a formality; it is the difference between a routine measurement and a painful shock.
- Switch off and unplug the equipment. Wait five minutes as a first pause before opening any cover.
- Disconnect at least one terminal from the circuit so no parallel paths can create a false reading during the test.
- Discharge the capacitor with a resistor of roughly 10 kOhm rated at 2 watts or higher. Touch the two capacitor leads through the resistor for at least five seconds. A direct screwdriver short works, but it stresses the terminals and can leave burn marks.
- Confirm the discharge by setting the meter to DC volts and checking that the voltage across the capacitor reads near zero.
- Never touch bare leads while the capacitor may still be charged.
Why this matters: a 30 uF motor capacitor charged to 450 VAC peaks at roughly 636 volts DC and can deliver an unpleasant or dangerous shock. The discharge itself is fast, but the rule stays the same: no discharge, no probe.
Method 1: Capacitance Mode - The Fastest and Most Reliable Test
Capacitance mode is easy to identify on most multimeters because of the symbol with two parallel vertical lines next to the dial. If your meter has this range, use it first. The meter charges the capacitor with a controlled current, measures the resulting voltage, and calculates the capacitance automatically.
- Rotate the dial to capacitance mode, marked with two parallel lines.
- Insert the test leads into the COM and the capacitance input, often labeled uF or mF.
- Connect the leads to the capacitor terminals. Motor run capacitors are unpolarized, so lead order does not matter. For polarized capacitors, keep red on the positive side and black on the negative side.
- Wait two to five seconds for the reading to settle. Larger values take longer.
- Read the value and remove the leads.
Now compare the reading with the value printed on the capacitor case. Industry practice for motor-run film capacitors is a tolerance of plus or minus 5 percent on marked capacitance. In field troubleshooting, an experienced technician replaces a capacitor when the measured value falls more than 10 percent below the label, even if the motor still starts for now. A capacitor that reads OL, or a value that stays pinned near zero, is internally broken.
A capacitor that measures more than 10 percent below its printed label should be replaced on the same repair visit. Waiting only lets the motor keep working harder until the winding fails.
Method 2: Resistance Mode - When Your Meter Has No Capacitance Range
Resistance mode is the classic way to test a capacitor because every multimeter has it. The trick is to watch the movement of the value rather than the final number.
- Set the dial to the highest resistance range, for example 2 MOhm or 20 MOhm.
- Connect the leads to the capacitor terminals. No polarity is needed for motor capacitors.
- Watch the display for about five seconds.
- Interpret the movement using the table below.
A healthy capacitor shows a value that starts low and climbs steadily, then the display goes to OL, which stands for over-limit. That climbing behavior is the meter pushing current into the capacitor while it charges. The final OL is expected; do not treat it as a fault.
| Observed Behavior | Meaning | Action |
|---|---|---|
| Starts low, climbs, ends at OL | Capacitor charges normally | Good. Confirm the value with capacitance mode if possible. |
| Reads near 0 ohm and stays there | Internally shorted | Replace the capacitor. |
| Shows OL immediately and never moves | Capacitor is open, for most sizes above 1 uF | Replace the capacitor. |
| Climbs, then stops at a middle value such as 100 kOhm | Leakage current inside the dielectric | Replace the capacitor. |
The open-capacitor rule comes with one warning. Very small capacitors below 1 uF charge so quickly that the movement is easy to miss. The resistance method works best for the 1 uF to 100 uF range where motor run capacitors normally sit.
Method 3: Continuity Mode - A 10-Second Screening Test
Continuity mode beeps whenever the resistance between the probes is very low. It is not a precision tool, but it finds a dead short instantly and without thinking.
- Set the multimeter to continuity mode, usually marked with a wifi-like symbol or a speaker icon.
- Connect the leads to the capacitor terminals.
- Listen and watch.
- A continuous beep with a value near zero ohm means the capacitor is shorted and must be replaced.
A silent reading means the capacitor is not shorted, but it tells you nothing about the capacitance value. Use continuity only as a quick screening step before running a real measurement.
Method 4: The Time-Constant Method - For Multimeters Without Capacitance Mode
If the meter lacks a capacitance range, you can still compute the value with a resistor, a DC voltage source, and a stopwatch. The calculation relies on the time constant: T equals R multiplied by C. When a capacitor charges through a known resistor, it reaches 63.2 percent of the supply voltage after exactly T seconds.
- Use a 10 kOhm resistor and a stable DC source between 12 V and 30 V. A battery works perfectly.
- Connect the resistor in series with the capacitor.
- Set the meter to DC voltage mode and place the test leads across the capacitor terminals.
- Close the circuit and start the stopwatch at the same moment.
- Stop the watch when the voltage reads 63.2 percent of the supply voltage.
- Calculate the capacitance as C equals T divided by R.
Here is a worked example. Assume a 24 V supply. The target voltage is 24 multiplied by 0.632, which equals 15.2 V. The stopwatch stops at 2.2 seconds and the resistor measures 9900 ohms. C equals 2.2 divided by 9900, which gives roughly 222 uF. Compare that with the label and you have your verdict.
This method is slower and less accurate. Resistor tolerance alone adds a few percent of error. Still, it is a solid confirmation in the field when no capacitance mode exists.
Interpreting the Results: What the Numbers Actually Mean
The number on your screen only makes sense when compared with the rating printed on the case. That printed value is what the capacitor is designed to deliver when new. Use these rules of thumb:
- Reading within 5 percent above or below the label: ideal, no action needed.
- Reading within 10 percent below the label: still commonly accepted, but worth monitoring at the next service visit.
- Reading more than 10 percent below the label: the capacitor has lost too much capacitance. Replace it during the same repair visit.
- Reading above the label by 10 percent or more: unusual for film capacitors, and often a sign of a wrong test setup or a parallel component. Remove the capacitor and test it again on its own.
- OL or zero in capacitance mode: the capacitor is internally open or shorted. Replace it.
Most motor capacitors do not stop working on a single day. They lose capacitance gradually. The motor then starts harder, draws more current, and runs hotter. By the time the capacitor measures 20 percent below its label, the motor has already been operating outside its design conditions. That is why replacing a marginal capacitor is not just a convenience; it protects the motor winding.
Replace a capacitor that measures more than 10 percent below its label even if the equipment still runs. The repair cost is small compared with a burned-out motor.
Testing Real Motor Run Capacitors: From Washing Machines to Air Conditioners
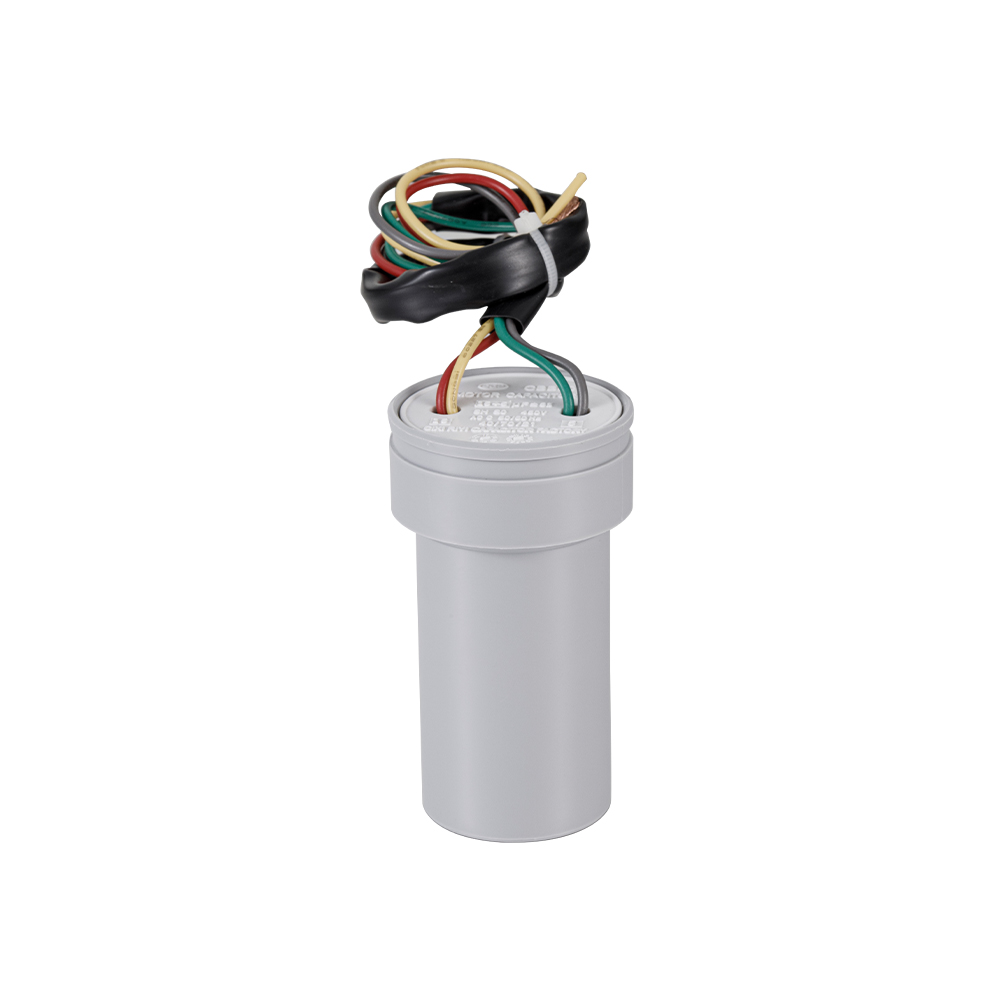
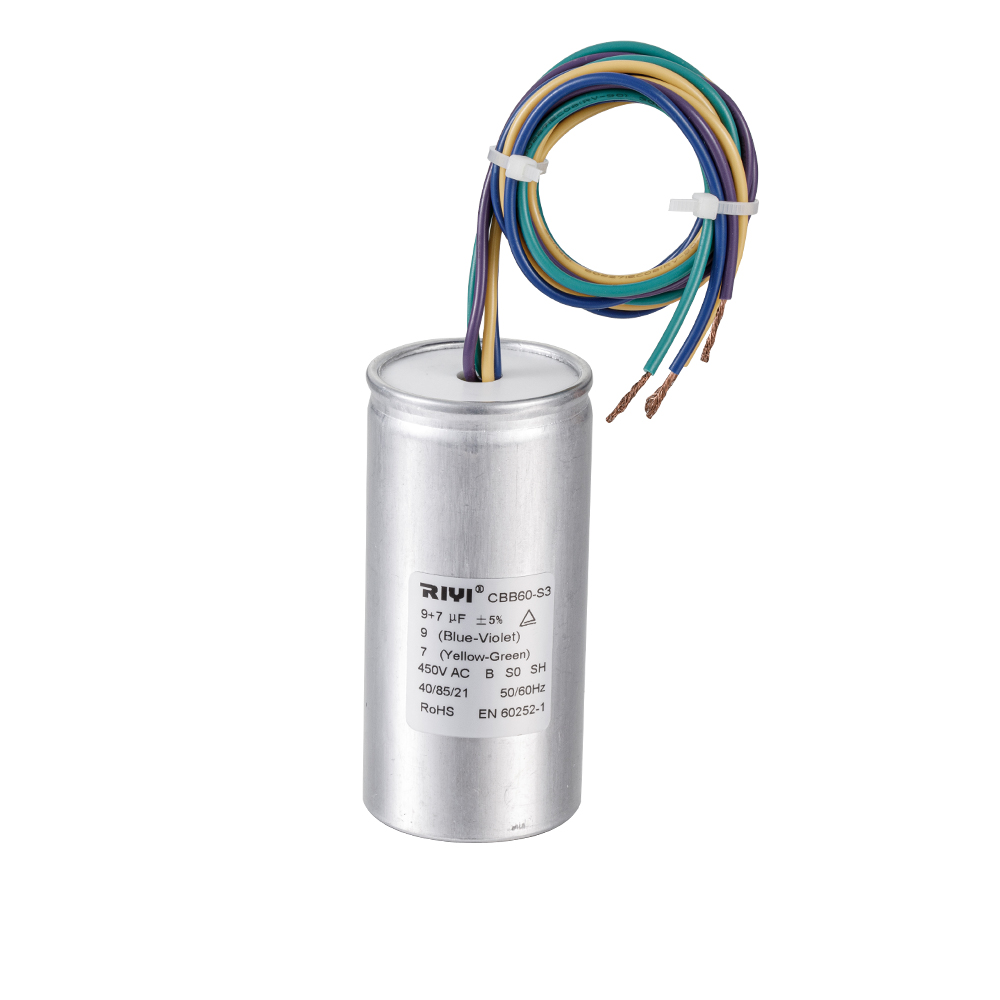
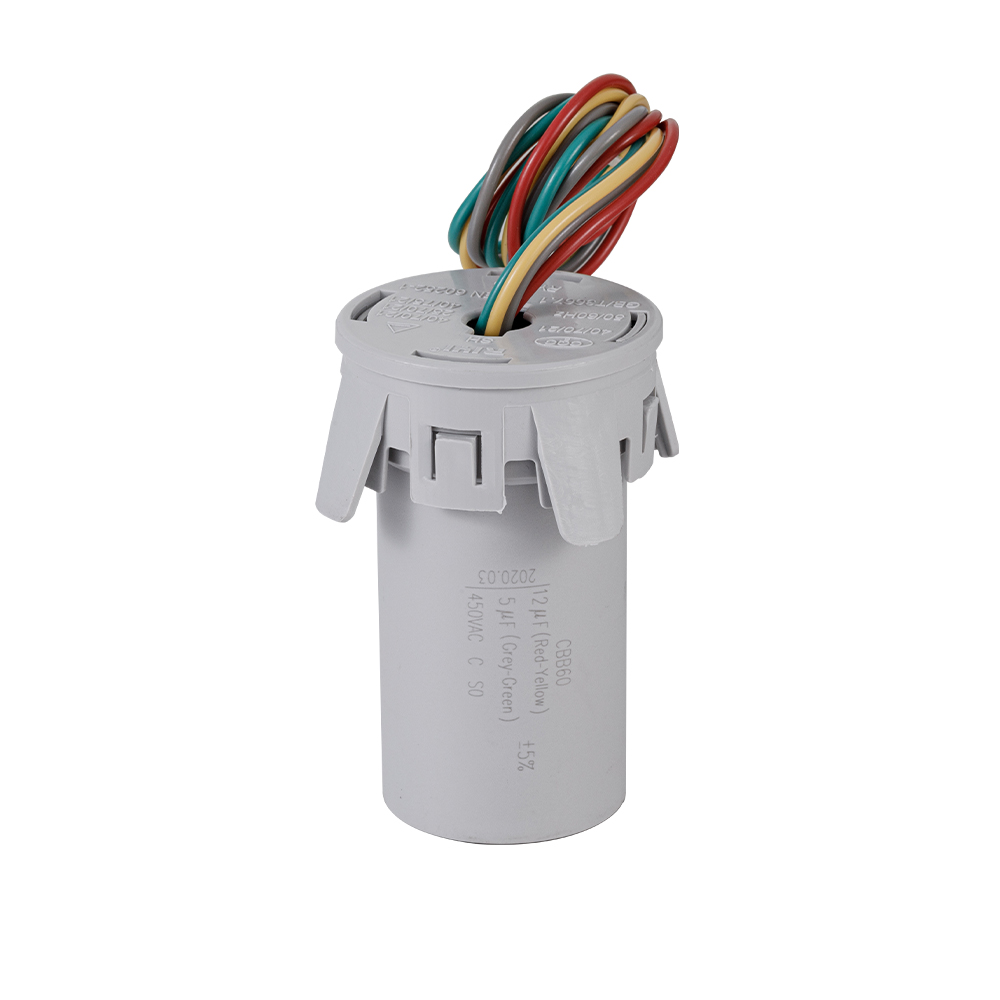
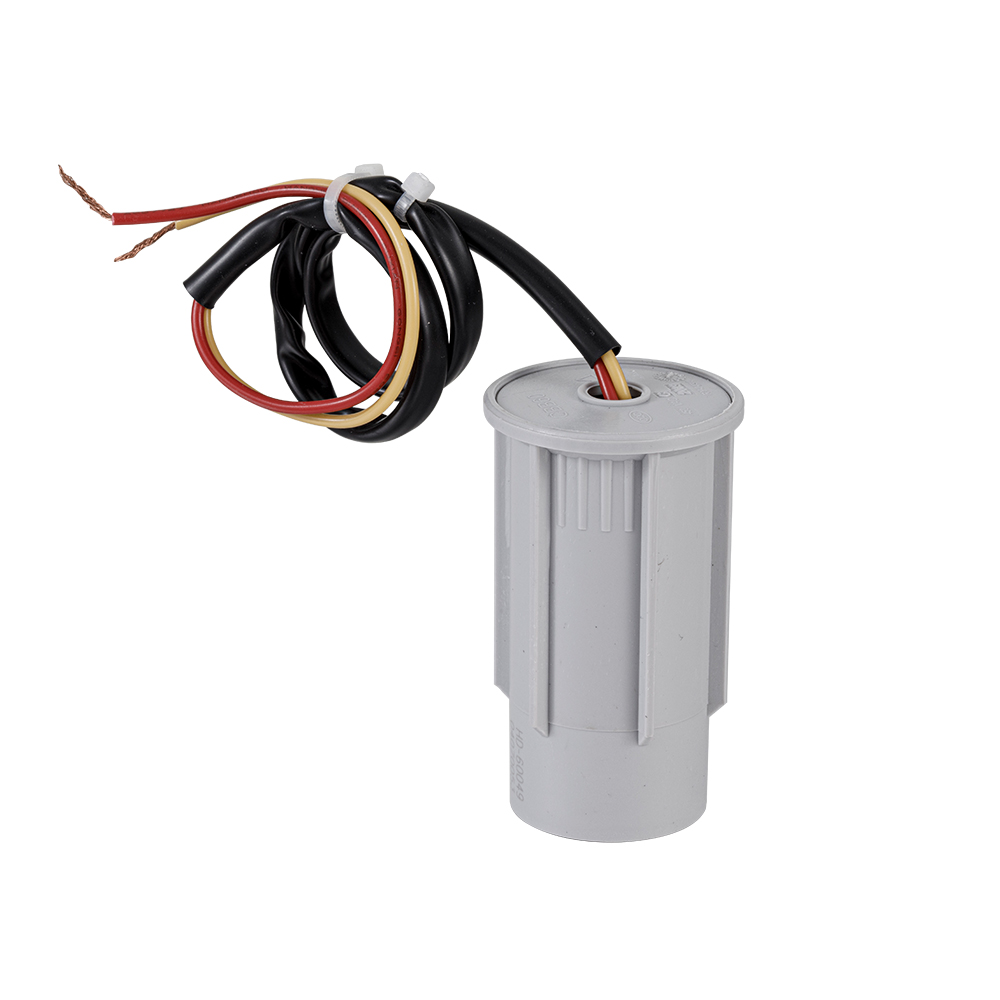
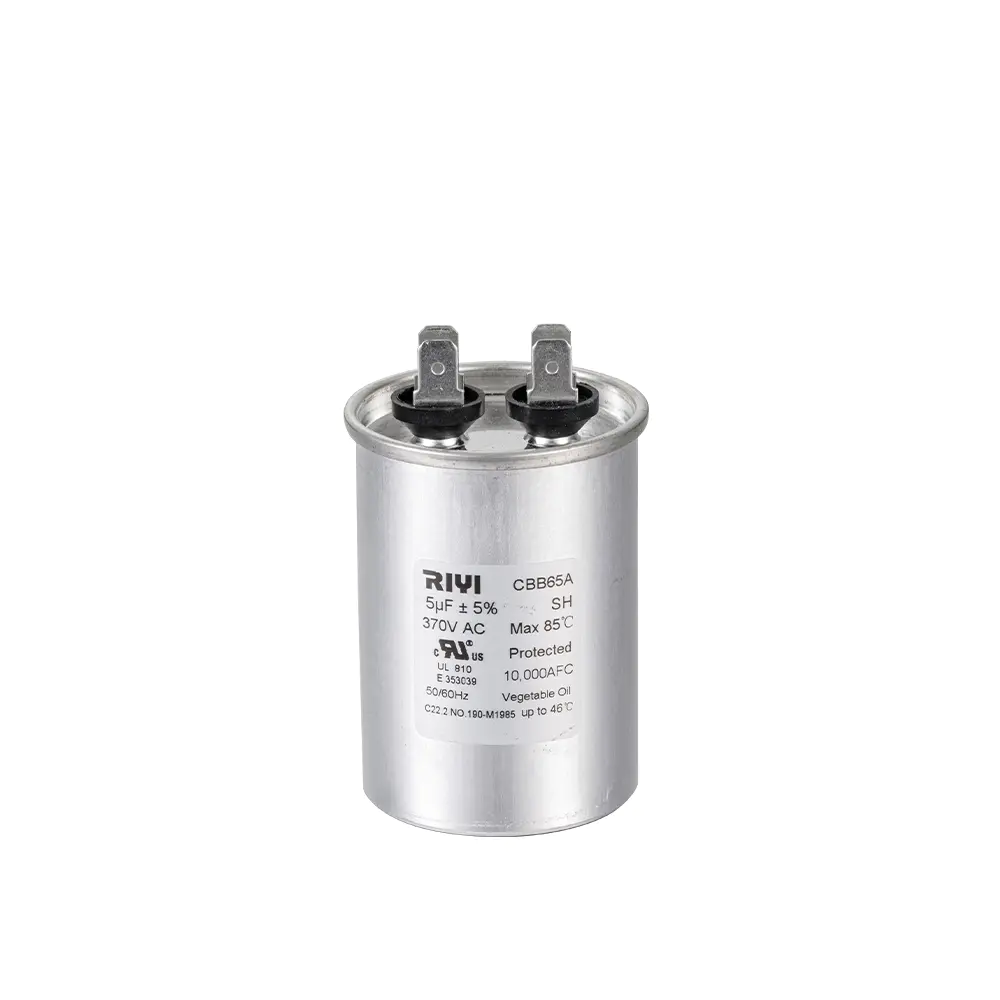
The capacitors that come off a production line and the spares that sit on a workbench share the same basic test routine. Knowing where each capacitor family appears helps you decide which values to expect. The three most common AC motor capacitor families are the CBB60 round type, the CBB61 flat type, and the CBB65 round metal-shell type.
| Family | Typical Appearance | Common Applications | Typical Marked Values |
|---|---|---|---|
| CBB60 | Round plastic or aluminum can | Washing machines, water pumps, cooling fans | 8 uF to 60 uF at 250 VAC to 500 VAC |
| CBB61 | Flat rectangular case | Ceiling fans, exhaust fans, small blowers | 1 uF to 15 uF at 250 VAC to 450 VAC |
| CBB65 | Round aluminum can with safety vent | Air-conditioning compressors, refrigeration compressors | 10 uF to 120 uF at 370 VAC to 500 VAC |
A washing-machine motor, for example, often uses a 16 uF or 20 uF CBB60 at 450 VAC. A ceiling fan typically uses a 2.5 uF or 3 uF CBB61 at 250 VAC. An air-conditioning condensing unit commonly runs a 35 uF or 40 uF CBB65 at 370 VAC or 440 VAC. These are starting points, not fixed values. The printed label on the actual part is always the reference.
One extra detail matters in air-conditioning work. Many compressor capacitors contain two sections inside a single case: a run section and a start section, each printed separately. Test each section independently by connecting the leads to the correct terminal pair. Do not assume the whole part is good because one section read correctly.
Visual Inspection Comes First - And Often Ends the Argument
A multimeter is fast, but a capacitor can reveal its own failure without any meter at all. Look before you touch. Visual inspection takes five seconds and costs nothing.
- Bulging or domed top vent on an aluminum case: gas pressure inside the can, a classic end-of-life sign.
- Shiny or brown electrolyte residue near the terminals: the seal has opened and fluid has escaped.
- Burned smell, melted case, or smoke marks: the capacitor has overheated badly.
- Loose or burned terminal connectors: connection faults that create heat and false readings.
- Deformed or cracked plastic casing on CBB61 flat types: mechanical or thermal distress.
If visual inspection finds any of these signs, testing loses its purpose. Install a replacement and do not power the equipment to "see what happens." There is no way a multimeter reading can contradict a visible vent bulge.
When the Capacitor Tests Fine but the Motor Still Does Not Start
When the capacitor value is correct, the motor can still refuse to start because of problems elsewhere in the circuit. The multimeter is still the right tool, just pointed in another direction.
- Measure winding continuity. A motor has a main winding and a start winding. An open start winding produces the classic symptom of a humming motor with no rotation.
- Check the start relay or switch. Many compressor circuits use a relay that can fail mechanically even when the capacitor is healthy.
- Inspect the connections at the terminal block. Loose spade terminals create voltage drops that look exactly like a dead motor.
- Measure supply voltage under load at the motor terminals, not just at the wall outlet. A weak connection can pass the no-load test and fail the loaded test.
A capacitor that measures within 5 percent of its label and passes the leakage check is very rarely the culprit. Move to the next component in the start circuit before deciding anything else.
Frequently Asked Questions
Can I test a capacitor while it is still in the circuit?
You can, but the reading will include anything connected in parallel with the capacitor, such as motor windings, relays, and suppressor resistors. For a reliable value, disconnect at least one lead before measuring.
How do I discharge a capacitor before testing?
Disconnect the power, wait a few minutes, then place a resistor of roughly 10 kOhm and 2 watts across the terminals for several seconds. Confirm that the voltage is below 1 V DC with the meter before touching the bare leads.
What is the best multimeter mode to test a capacitor?
Capacitance mode if the meter has it, because it reads the value directly. Resistance mode is the next best option and works on every multimeter, using the charging movement of the value to judge condition.
Why does my multimeter show OL in capacitance mode?
OL in capacitance mode usually means the capacitor is open or the test probes are not making good contact. Because the capacitor cannot accept any charge, the meter treats it like an open connection.
What voltage should a motor capacitor read when I measure it?
A motor run capacitor is an AC component. It has no DC polarity and does not show a stable DC voltage when measured directly. Its condition is judged by capacitance, leakage, and charging behavior, not by a voltage reading.
How often should I test the capacitors on HVAC equipment?
During an annual maintenance visit, checking capacitance takes less than a minute and should become routine. A capacitor that has dropped 10 percent below its label is already in the replacement zone.
A capacitor is the most replaceable part in a motor circuit, but only when the diagnosis is correct. The multimeter turns a vague suspicion into a clear decision: keep or replace. Discharge first, use capacitance mode when available, fall back to resistance mode when necessary, and trust the label on the part as your reference.
With this routine, a capacitor test takes a couple of minutes and gives a definite answer every time.


- Tel: +86-13600614158
- E-mail: mina@cxriyi.com
- Address: Zonghan Street,Cixi City, Zhejiang Province, China.
Copyright © CIXI RIYI CAPACITOR FACTORY
All Rights Reserved.
 custom air conditioner capacitor for sale
China Ac Motor Capacitor Factory